Logging time is the daily habit the whole system depends on — every budget, utilization figure, and invoice is only as good as the hours your team captures. Timix.AI makes it quick, and always lands the entry at the right level.
The Time Entry views
Open Time Entry. Switch between Day, Week, and Month to log and review at the cadence that suits you, and toggle Calendar / List / Timeline for different layouts. Copy Last Week duplicates a recurring week so you’re not starting from scratch.
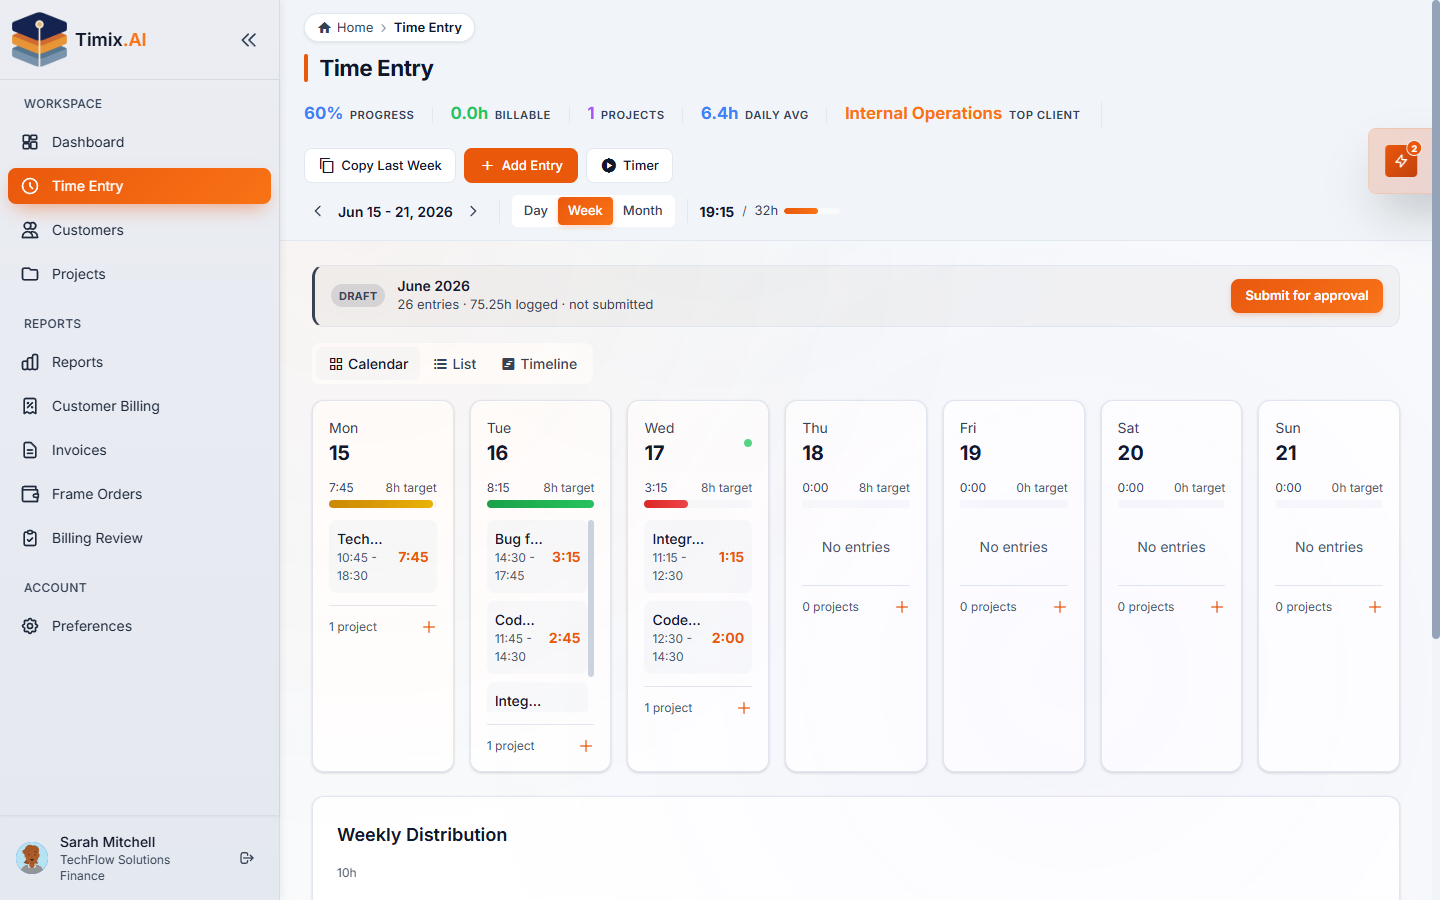
The header tracks your progress and totals for the period, and the Submit for approval button is right there when you’re ready.
Log an entry
Click Add Entry to open the Log Time dialog. You pick the work from the top of the hierarchy down — Client → Project → Task → Activity — then set the date, a start time with a duration (or an end time), and a description of what you did.
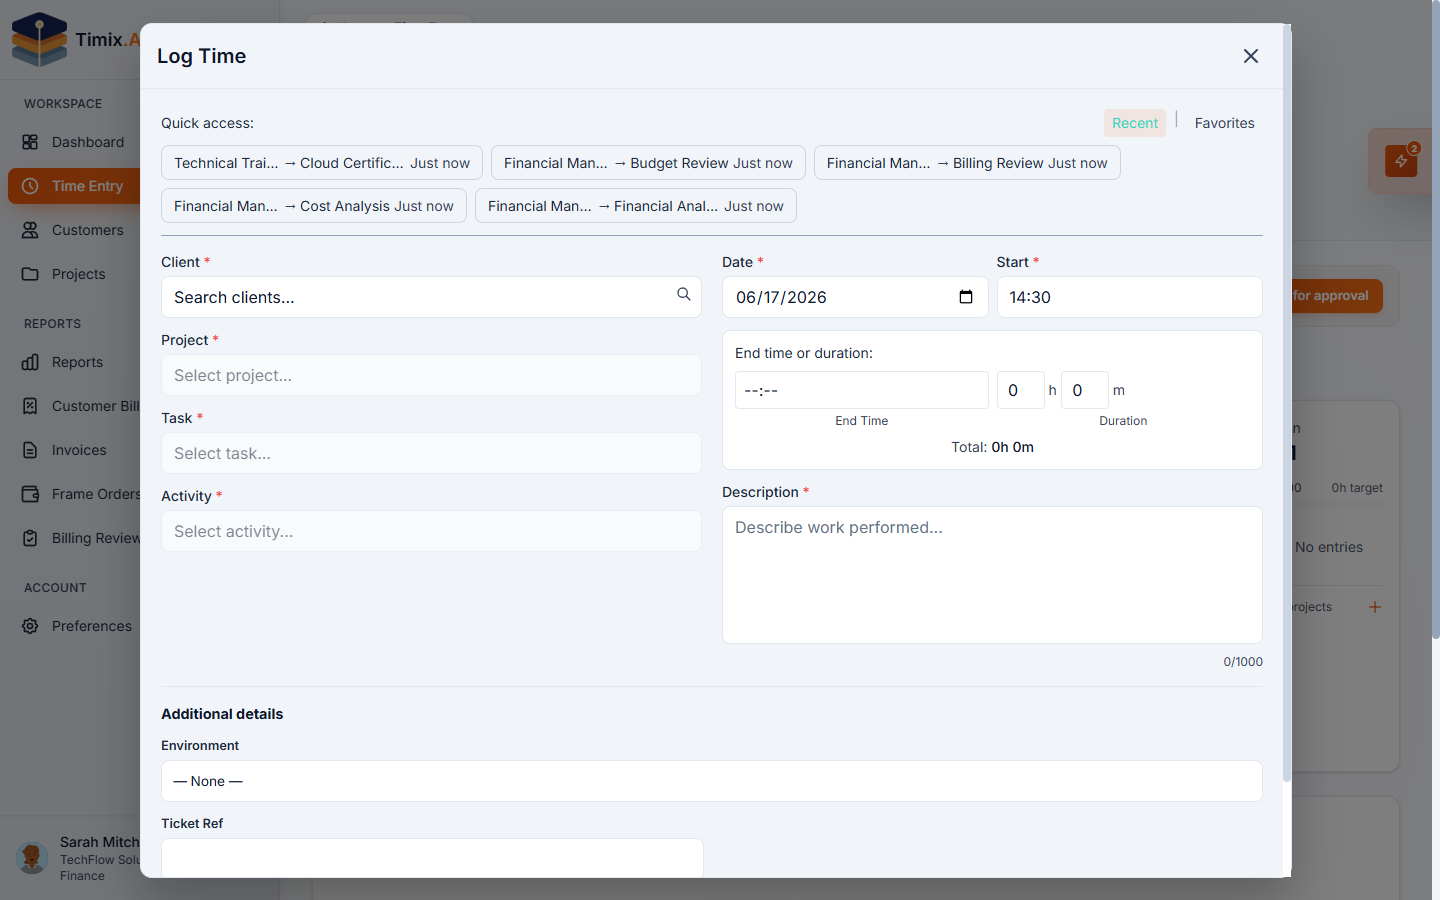
Two things make this fast in practice:
- Quick access — your Recent and Favorite activities sit at the top of the dialog, so the work you log most is one click away.
- Auto-created SubTasks — if the exact piece of work doesn’t exist yet, Timix.AI creates the Activity for you, so you’re never blocked from capturing an hour.
A clear description matters more than it looks: it’s what a reviewer (and ultimately a client, on a T&M invoice) reads, so a specific note now saves a write-off later.
Track live with the timer
Prefer to track as you go? Click Timer to start a live timer against an activity and stop it when you’re done — it writes the same entry, with the elapsed time filled in.
Submit for approval
Logged time starts as Draft. When the period is complete, click Submit for approval; the hours move Draft → Submitted and route to an approver. Only approved hours flow into budgets-as-billable and into Billing Review — which is exactly what the approval tutorial picks up next.